When embarking on any construction or infrastructure development project, understanding the land beneath your feet is crucial. A successful geotechnical investigation forms the backbone of your project’s long-term success, helping to avoid costly surprises during the build. Whether you are constructing a high-rise, a new road, or a residential complex, knowing the specifics of the ground conditions will guide your decisions and ensure safety, stability, and durability.
We know the importance of getting the geotechnical investigation right from the very beginning. Here is a step-by-step guide to help you prepare your site for a successful investigation:
Step 1: Understand the Scope of Your Project
Before moving forward, it’s essential to have a clear understanding of your project’s requirements. The scope will dictate the depth, types of tests, and drilling methods needed for the investigation. Whether you’re building a high-rise building or a simple residential development, each project will have different needs.
To make informed decisions, consult with a geotechnical consultant early in the planning process. This ensures that the investigation is tailored to your specific project, ultimately saving time and money.
Step 2: Gather Existing Geological Information
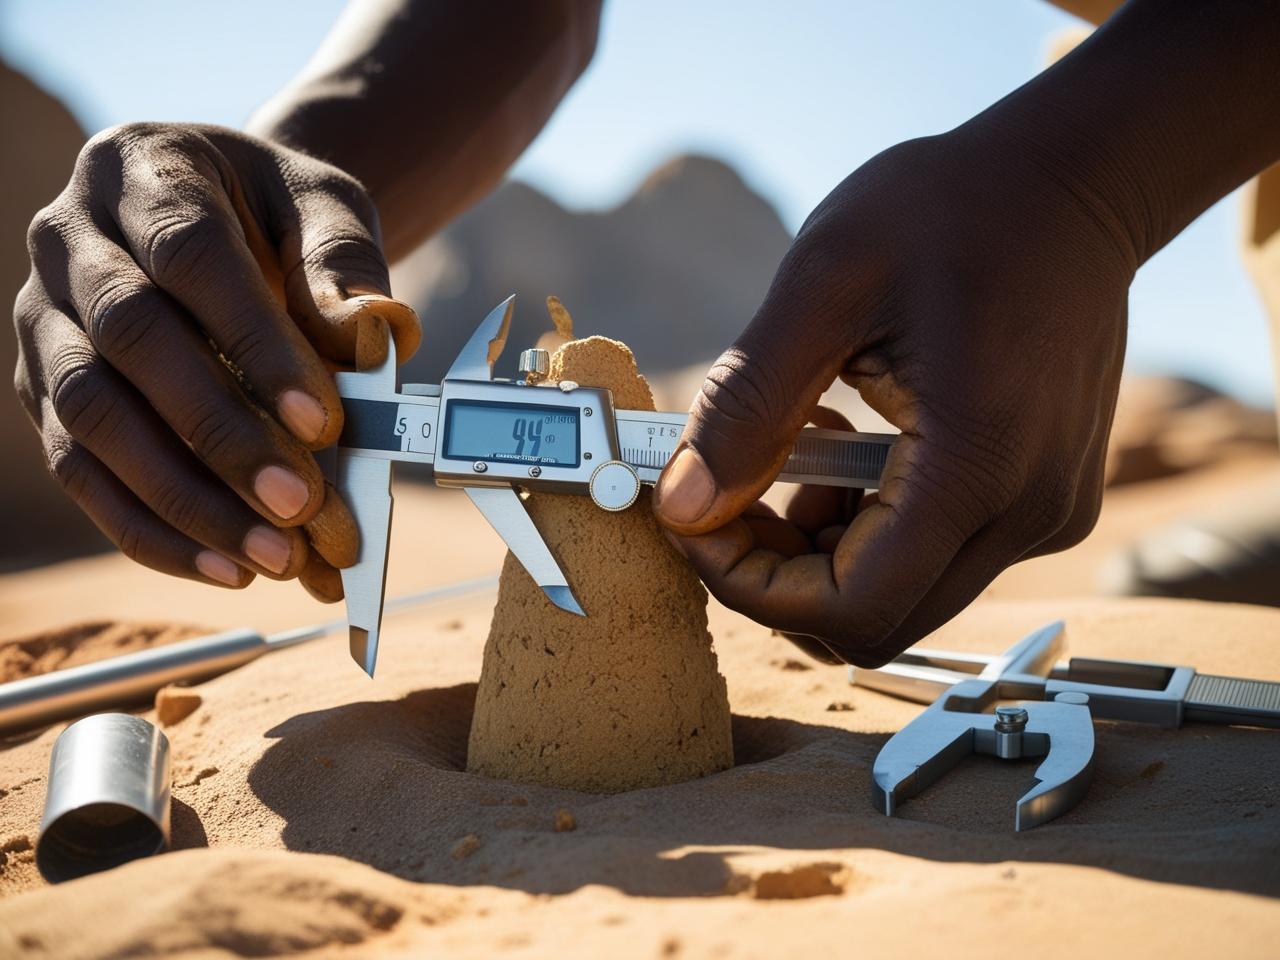
Start by reviewing any available geological data. Check geological maps, previous site reports, and borehole data, as these can provide critical information about the ground conditions. Resources such as the Council for Geoscience can provide valuable insights into the area’s geology and groundwater conditions.
Collecting this data early on will allow you to identify any potential issues that might arise and provide your drilling team with a baseline for the site investigation.
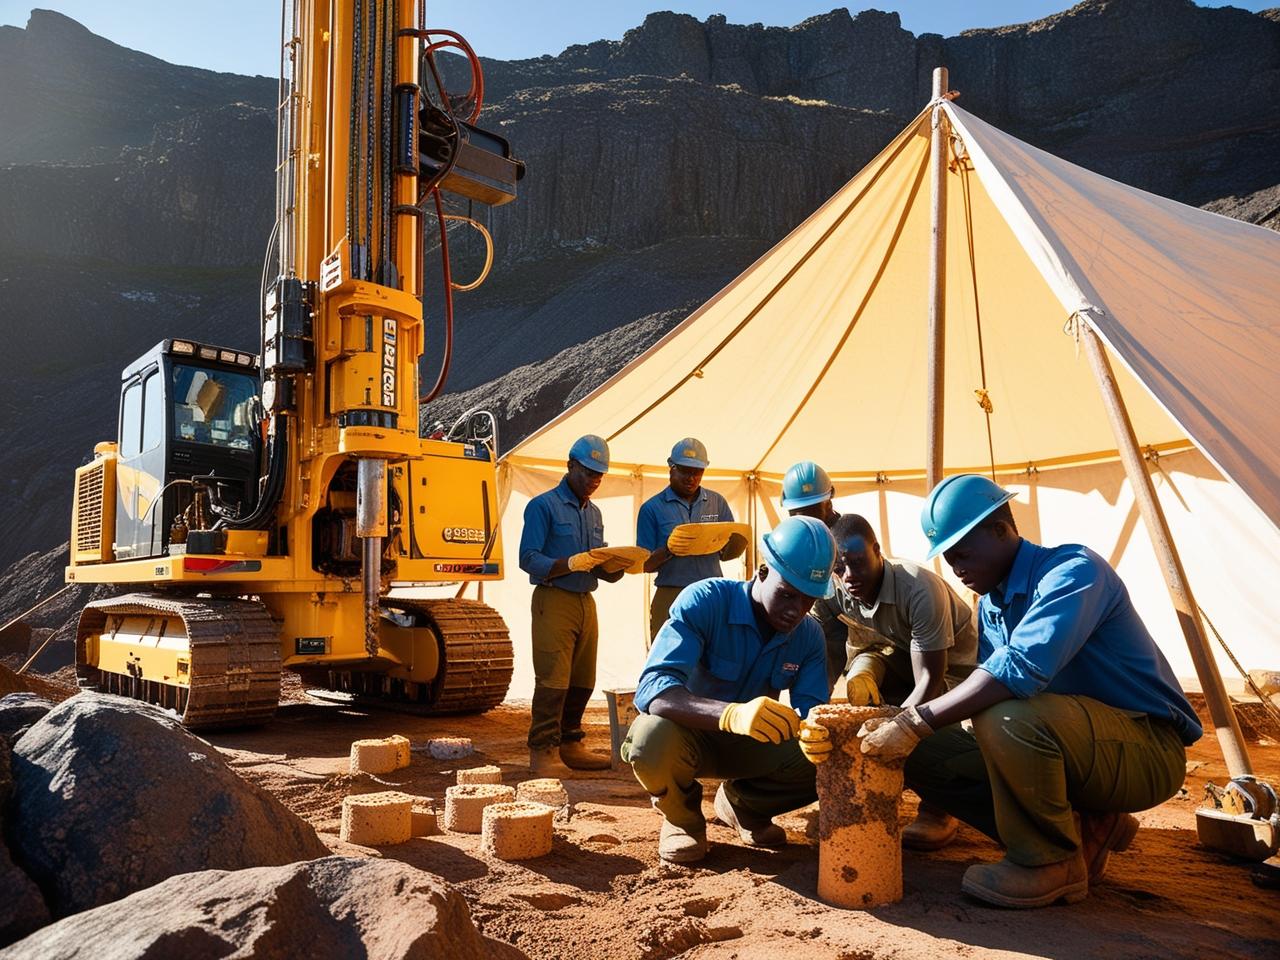
Step 3: Secure Access to the Site
Ensure that the drilling rig and any necessary support vehicles can easily access the site. This means you should clear any physical barriers, such as fences or debris, and ensure that permissions are in place for the drilling equipment to enter the property.
It’s also important to identify potential hazards, such as unstable ground or obstructions, that may impact drilling operations.
Step 4: Conduct a Site Walkover
A physical inspection of the site is an invaluable step before the investigation begins. During this walkover, you’ll want to look for any signs of instability, previous disturbances (e.g., old structures or soil disruptions), drainage issues, or other features that might affect the investigation’s findings.
This step helps in pinpointing areas of concern that may not be immediately visible from just a map or report.
Step 5: Determine Utility Locations
To avoid hitting underground utilities during drilling, it’s essential to know where they are located. Contact local utility providers and ask for maps of buried infrastructure. Additionally, using detection tools to map out these utilities on-site is highly recommended.
In addition to avoiding damage, identifying utilities beforehand will help to streamline drilling operations and prevent delays.
Step 6: Set Up Environmental Controls
Environmental considerations are crucial for ensuring a smooth investigation process and compliance with safety regulations. Depending on the location of your site, you may need to manage various factors such as:
- Runoff management to prevent soil erosion
- Noise control to minimize disruption
- Dust control for air quality
- Vibration management to prevent damage to nearby structures
By setting up environmental controls early, you’ll protect both the site and the surrounding area, ensuring your project proceeds smoothly.
Step 7: Inform Local Authorities & Stakeholders
Different municipalities and provinces have varying regulations when it comes to geotechnical investigations. Some areas may require specific permits, so it’s vital to inform local authorities well in advance.
Additionally, keeping all stakeholders (such as neighbors, regulatory bodies, and project managers) informed about the investigation will prevent delays and confusion. Transparent communication is key to a seamless process.
Step 8: Coordinate with the Drilling Contractor
Lastly, ensure that you maintain open communication with your chosen drilling contractor like Ngano Drilling. Discuss logistics, timelines, and expectations for reporting to ensure everything aligns properly.
A well-coordinated approach will help avoid any misunderstandings and streamline the investigation process. At Ngano Drilling, we work closely with clients to ensure the process is smooth, efficient, and accurate.
See the links for more information:
https://www.youtube.com/watch?v=bJE27k2L4_w
https://www.youtube.com/watch?v=5EkcNduDrrE